Table of Contents
Introduction
A Playwright CI/CD setup is what turns a personal test suite into something an entire team can actually rely on. Running tests locally proves they work on one machine, on one day. Running them automatically on every push and pull request is what catches regressions before they reach production, which is the entire point of test automation in the first place.
This guide walks through a full Playwright CI/CD setup using GitHub Actions, the most common starting point for teams already hosting code on GitHub. It then goes further than most CI/CD tutorials by covering how MCP, the Model Context Protocol, lets AI assistants like Claude generate and troubleshoot that same pipeline directly from a repository, instead of a blank YAML file and a search engine tab.
What Is CI/CD in Test Automation?
CI/CD stands for continuous integration and continuous delivery. In the context of test automation, it means test execution is no longer something a person triggers manually. It becomes a built-in step that runs automatically every time code changes, as part of a defined pipeline rather than a separate task someone has to remember.
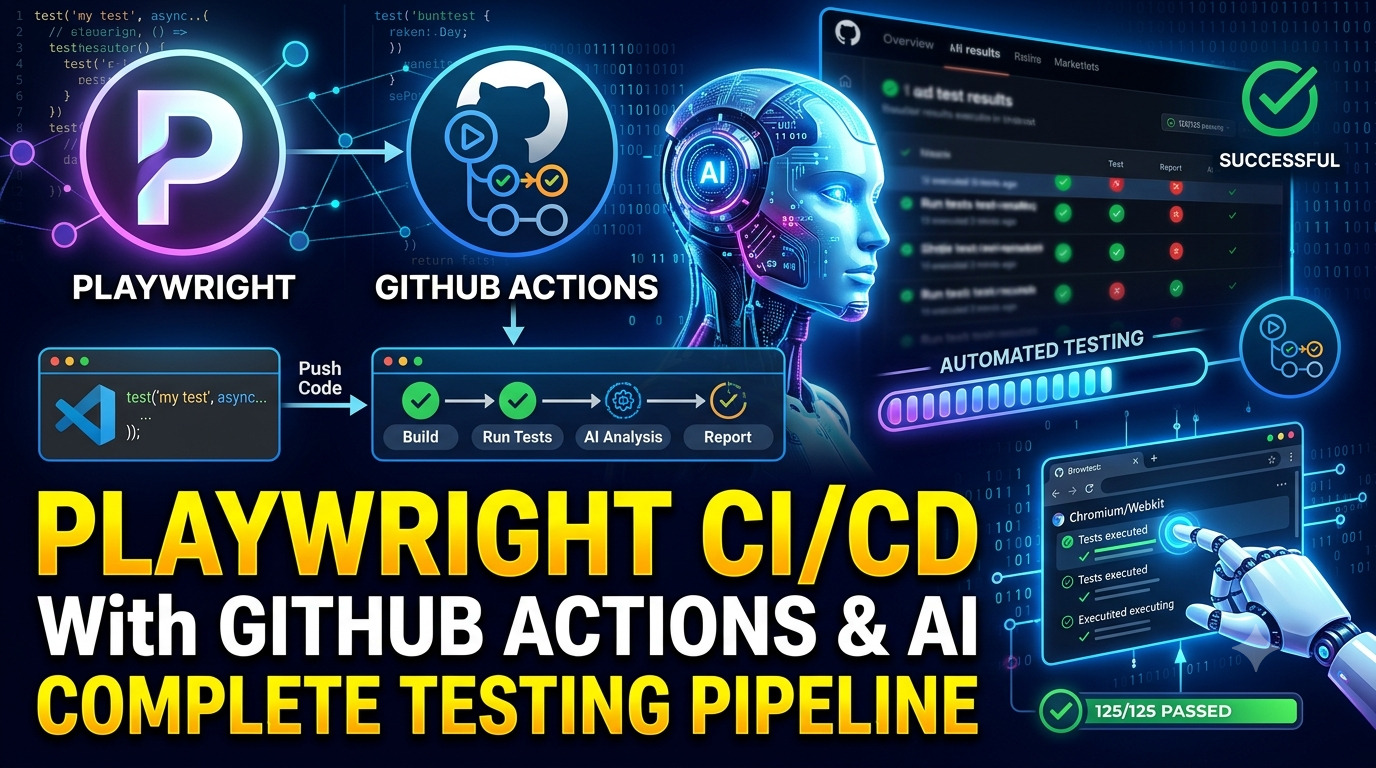
A typical Playwright CI/CD setup follows the same basic flow regardless of project size:What Is CI/CD in Test Automation?
CI/CD stands for continuous integration and continuous delivery. In the context of test automation, it means test execution is no longer something a person triggers manually. It becomes a built-in step that runs automatically every time code changes, as part of a defined pipeline rather than a separate task someone has to remember.
A typical Playwright CI/CD setup follows the same basic flow regardless of project size:
Developer pushes code
|
GitHub repository
|
GitHub Actions starts
|
Install dependencies
|
Run Playwright tests
|
Generate reports
|
Notify results
Each step happens without manual intervention. A developer pushes code to the GitHub repository, which triggers GitHub Actions automatically. The runner installs project dependencies, runs the Playwright test suite, generates a report of what passed and what failed, and then notifies the team, typically through a status check directly on the pull request. If anything fails, that failure is visible immediately, right where the code change itself is being reviewed, rather than surfacing days later after the change has already been merged.
This is what separates test automation with CI/CD from test automation without it. The tests are the same either way. What changes is whether running them depends on a person remembering to, or happens automatically as a permanent part of how code moves through the project.
Prerequisites
Before starting a Playwright CI/CD setup, a few things need to already be in place.
- A GitHub account. The repository and the Actions workflow both live inside GitHub.
- A Playwright project. This guide assumes Playwright is already installed in the project, not a setup from zero.
- Node.js installed. Required to run Playwright and its dependencies both locally and inside the CI runner.
- Tests running locally. A Playwright CI/CD setup should come after tests are confirmed working locally, not before. CI will surface environment differences, not fix tests that were never passing to begin with.
With those four in place, the rest of this guide can be followed in order.
Explore full aricle for more Playwright Automation Testing with AI: Complete JavaScript & TypeScript Framework From Scratch
Why Run Playwright Tests in CI/CD
Without automation, test suites only run when someone remembers to run them. A proper Playwright CI/CD setup removes that dependency on memory entirely.
Consistency. Tests run in the exact same environment every time, removing the “it works on my machine” problem that plagues local-only testing.
Early detection. A broken build gets caught on the pull request itself, before it ever reaches the main branch, which is dramatically cheaper to fix than a bug found after release.
Team-wide visibility. Test results, screenshots, and traces become visible to the whole team through the CI provider, not locked inside one engineer’s terminal.
Confidence to ship faster. Teams with a reliable Playwright CI/CD setup tend to merge and release more often, since automated tests replace a large chunk of manual pre-release checking.
Setting Up GitHub Actions for Playwright
GitHub Actions is the natural first choice for a Playwright CI/CD setup because it runs directly inside GitHub, with no separate service to configure or pay for on most plans.
The setup itself starts with a single folder and file inside the project:
.github/workflows/playwright.ymlInside that file, a standard Playwright CI/CD setup looks like this:
yaml
name: Playwright Tests
on:
  push:
    branches: [ main ]
  pull_request:
    branches: [ main ]
jobs:
  test:
    timeout-minutes: 60
    runs-on: ubuntu-latest
    steps:
      - uses: actions/checkout@v4
      - uses: actions/setup-node@v4
        with:
          node-version: lts/*
      - name: Install dependencies
        run: npm ci
      - name: Install Playwright browsers
        run: npx playwright install --with-deps
      - name: Run Playwright tests
        run: npx playwright test
      - uses: actions/upload-artifact@v4
        if: always()
        with:
          name: playwright-report
          path: playwright-report/
          retention-days: 30
Once this file is committed and pushed, GitHub automatically detects it and runs the workflow on the next push or pull request. No additional setup is required on GitHub’s side.
Understanding the Workflow File
Each part of this Playwright CI/CD setup does a specific job. The on section defines what triggers the pipeline, in this case a push or pull request targeting the main branch. The runs-on line picks the virtual machine the tests execute on, with Ubuntu being the standard, well-supported choice. The checkout and setup-node steps pull the repository code and prepare a Node.js environment. npm ci installs exact dependency versions from the lock file, which keeps CI runs consistent. playwright install --with-deps downloads the browser binaries the runner needs. The final steps run the actual test suite and upload the HTML report as a downloadable artifact, so failures can be inspected after the run finishes.
This structure covers the vast majority of real-world Playwright CI/CD setup needs without requiring a paid CI service or custom infrastructure.
Using AI and MCP to Generate the Workflow
This is where a modern Playwright CI/CD setup starts to look different from a tutorial written a year ago. MCP, short for Model Context Protocol, is an open standard that lets AI assistants connect directly to external tools and data sources, including a GitHub repository, rather than working from a description typed into a chat window.
With an MCP connection to GitHub in place, an AI assistant like Claude can read a project’s actual file structure, its package.json, and its existing Playwright config, then generate a workflow file that matches the real project instead of a generic template pulled from documentation. This matters more than it might sound like, since a workflow file built for the wrong Node version, the wrong test folder path, or a missing dependency step is one of the most common reasons a first Playwright CI/CD setup fails on its very first run.
A practical version of this workflow looks like:
- Connect an MCP-enabled AI assistant to the GitHub repository
- Ask it to review the project’s Playwright configuration and existing scripts
- Ask it to generate a GitHub Actions workflow file tailored to that setup
- Review the generated file before committing it, the same way any code from an AI assistant should be reviewed
That review step is not optional. AI-generated CI/CD configuration is a strong starting point, not a finished pipeline, and an engineer still needs to confirm branch names, environment variables, and secrets are correct before merging.
Using MCP to Triage CI Failures
A Playwright CI/CD setup does not just need to run tests. It needs someone to make sense of the results, and that is usually the more time-consuming part once a suite grows past a handful of tests.
With MCP connected to GitHub Actions, an AI assistant can pull the logs, traces, and failure details from a completed run directly, then group failures by likely cause instead of a human scrolling through raw console output one job at a time. In practice this looks like asking the assistant to summarize a failed run, flag which failures appear to be genuine application bugs versus flaky, timing-related failures, and point to the specific test file and line where each failure occurred.
This does not replace the judgment of an engineer confirming a real bug versus a flaky test. It removes the slow, repetitive part of that process, scanning dozens of log lines to find the one that matters, which is exactly the kind of task AI assistants handle well when they have direct access to the actual data instead of a manually pasted error message.
Best Practices for a Playwright CI/CD Setup
Run browsers headless in CI by default. Headed execution is rarely necessary in a pipeline and adds unnecessary overhead to every run.
Cache dependencies where possible. Caching node_modules and the Playwright browser binaries between runs meaningfully cuts total pipeline time on larger projects.
Upload the HTML report and traces as artifacts. A Playwright CI/CD setup without report artifacts leaves failures much harder to debug after the fact, since the terminal output alone rarely tells the full story.
Use sharding for large suites. Splitting tests across multiple parallel jobs keeps pipeline runtime manageable as a suite grows past a few hundred tests.
Review AI-generated workflow changes like any other pull request. Treat an MCP-assisted config change with the same review standard as a change written by a teammate, not a lower one.
Fail the build on any test failure. A Playwright CI/CD setup that allows merges despite failing tests defeats the purpose of running them in the first place.
Playwright CI/CD Setup Checklist
Before considering a Playwright CI/CD setup finished, it helps to run through a short checklist.
- Workflow file exists at
.github/workflows/playwright.ymland triggers on the correct branch names - Dependencies install with
npm ci, notnpm install, to keep the Playwright CI/CD setup reproducible across runs - Browser binaries install with the
--with-depsflag so system libraries are included - HTML report and traces upload as artifacts with
if: always()so failed runs are still inspectable - Secrets and environment variables are stored in GitHub’s encrypted secrets, never hardcoded in the workflow file
- The pipeline fails the build on any test failure, rather than allowing a merge regardless of results
- Any AI-generated or MCP-assisted change to the workflow file has been reviewed line by line before merging
- The team knows where to find the uploaded report after a failed run, since a Playwright CI/CD setup only helps if people actually look at what it produces
Running through this list once, and revisiting it whenever the pipeline changes significantly, catches most of the issues that otherwise surface later as confusing, hard-to-reproduce CI failures.
Common Issues and Troubleshooting
Browsers fail to launch on the runner. This almost always means the --with-deps flag was left off the browser install step, which skips required system libraries on the CI machine.
Tests pass locally but fail in CI. Usually a timing issue exposed by a slower or differently configured environment, or a hardcoded local URL that does not exist on the runner.
The workflow never triggers. Double-check the branch names in the on section match the actual default branch name, since a mismatch here is one of the most common first-setup mistakes in any Playwright CI/CD setup.
Reports are not visible after a failed run. Confirm the artifact upload step includes if: always(), otherwise it only runs when every prior step succeeds, which skips exactly the runs where the report is needed most.
The pipeline works but takes far too long. This is usually a sign a Playwright CI/CD setup has outgrown a single sequential job. Splitting the suite across shards, or trimming an overly broad test selector, typically brings runtime back down without cutting coverage.
Frequently Asked Questions
Do I need a paid GitHub plan for a Playwright CI/CD setup?
No. GitHub Actions includes a generous free tier for public repositories and a reasonable free monthly allowance for private ones, which covers most individual and small team Playwright CI/CD setups
Can Playwright run on CI providers other than GitHub Actions?
Yes. Playwright supports GitHub Actions, GitLab CI, CircleCI, Azure Pipelines, and most other major CI providers, though GitHub Actions remains the simplest starting point for projects already hosted on GitHub.
What is MCP and why does it matter for a Playwright CI/CD setup?
MCP, the Model Context Protocol, is an open standard that lets AI assistants connect directly to tools like GitHub, rather than relying only on text pasted into a chat. For a Playwright CI/CD setup, that means an AI assistant can read the actual project and pipeline data instead of guessing from a description.
Is it safe to let AI generate a CI/CD workflow file automatically?
It is safe as a starting point, provided every generated file is reviewed before merging, the same way any teammate’s pull request would be reviewed. Automatically merging unreviewed configuration is not recommended regardless of who or what wrote it.
How long does a typical Playwright CI/CD setup take to configure?
A basic working setup can be running within an hour for a small project. Tuning it further with caching, sharding, and artifact handling for a larger suite typically takes longer and evolves over time.
Does a Playwright CI/CD setup replace manual testing entirely?
No. It replaces repetitive regression checking, which frees up manual testers and engineers to focus on exploratory testing and the kind of judgment-based work automation cannot fully replicate.
Do I need to already know GitHub Actions before attempting a Playwright CI/CD setup?
Not deeply. The example workflow in this guide covers the core structure needed for most projects, and an MCP-connected AI assistant can help fill in project-specific details without requiring prior GitHub Actions expertise.
Conclusion
A working Playwright CI/CD setup is the difference between a test suite that proves something once and one that protects a codebase continuously. GitHub Actions makes the mechanical part of that setup straightforward, a single workflow file is often all it takes to get tests running on every push.
The more interesting shift is what happens once MCP enters the picture. Instead of writing that workflow file from scratch or debugging a failed run line by line, an MCP-connected AI assistant can draft the pipeline from the real project and help sort through failures once it is running, provided every step is still reviewed by an engineer who understands what the pipeline is actually doing. That combination, solid CI/CD fundamentals paired with AI assistance where it genuinely saves time, is where Playwright automation is heading next.
Explore more articles from AI blogs AI Learning Hub subscribe to AI Pathway Lab AI for Testers
- Prompt Engineering Guide – The Skill That Makes You 10x Faster
- What Are AI Agents? Complete Beginner Guide 2026
- 12 Proven Ways to Make Money With AI That Actually Work
- Claude AI to Earn Money Guide: 4 Proven Ways That Actually Work
- Free AI Courses with Certificate in 2026
- AI Test Case Generation Guide for QA Engineers Using ChatGPT and Claude
3 Proven Ways AI Accelerates Software QA Workflows
Automation with AI, Write Test Scripts 10x Faster in 2026
AI Workflows for QA Automation, How to Integrate
For official reference material, Playwright’s own CI documentation covers provider-specific setup in more depth, GitHub’s Actions documentation is the authoritative source for workflow syntax, and the Model Context Protocol specification explains how MCP connectors work at a technical level.